Saturday, 22 October 2011

Iron Man helmet glueing together


 This is the chin, Everything was relatively easy except for the bottom middle part. The lowest part of the chin was easy to make, but the edge connecting it to the rest of the chin was a nightmare. In the end, I just used some masking tape to hold it into place. Once it get's fibre glassed, I shouldn't need to worry about it.

 This is the one of the side sections, the ear. There's another part that I can put on top of this. I believe it was designed like this to allow the ear part to be moved around however you'd like. I'm wondering if there's something I can hide in there or something special I can use it for...... or do I have to hollow it out.

 It doesn't like like it but this is the top of the head. The two open parts on the left and right look like rails for the mask to come up and down. It might be an idea.

 This is the back of the head. It looks like the back can fold up so if it's needed, I can somehow cut it up and push it up.

 Good god, this is the mask. The eyes are a nightmare.The eyes were the first thing I started with and I still haven't been able to complete it because I just can't see how it's all meant to fit together. What's even more annoying is that it requires the eyes to be able to fit together. The eyes also look completely sealed so I'm going to need to think of a way to see through them.

 This is like the forehead part. It doesn't look like anything and it was pretty fiddly to glue the middle part in. It might be an idea to glue them in a different order next time so that I can get in there.

As you can see in some of the pictures, I'm using pretstik to glue everything together. It looks a little crazy, but I seem to be making it work. I can put the pieces together and still move it around a bit to get the right position before holding it to glue together.

Tuesday, 18 October 2011

Starting of the Iron Man Project

I've been going thought a number of different sites and I've found the full set of armour for Iron Man and War Machine. I'll stick with Iron Man for the time being but it might be an idea to continue later with the War Machine for a side kick :)

I'm starting off with the helmet because it looks quite complicated and requires a little more time and detail. Looking at the rest of the armour, it seems relatively easy with large piece. The next piece I want to move onto is the glove and arm. Other then the helmet, the glove and arm would give the most visual impact and I can also see how big the palm is to see how big the lights I need to make.
 Here's a sample of the pepakura files printed out. As you can see, this one sheet is really really detailed and quite complicated.

I've used 160gsm paper because I don't know what card stock is and searching the web doesn't help. from what I've found, it can range from 130gsm to 260gsm.

This is mostly everything cut out. If you can see from this pic, I tryed to stay accurate where it's meant to be a solid side, but if there was a flap that was going to get glued, I allowed some more space. This was to allow me to speed up slightly because there was a lot to cut out.

Sunday, 16 October 2011

First post of the project

I'm interested in cosplay and I've never been daring enough to do it because it does seem a little strange HOWEVER I've been a fan of Iron Man long before it came out as a movie.

The initial spark to start making armour was because my younger brother was asking if we should cosplay at the comic con that was coming up. He wanted to dress up as Kamen Rider RX, but a quick image search of what he looked like, it would be quite difficult to make a decent helmet.

As I carried on researching what cosplay costume I could do, I was thinking of making Link's Twilight Princess Hyrule shield and Master Sword...... and figure out a way to get pointy ears and a lot of green fabric to make a tunic..... and maybe tights. I found that pepakura files were available to make these out of paper instead of foam board.

I came across an Iron Man helmet pepakura file and I started to go into more detail. This really peaked my interest because I have the potential to make a full Iron Man costume. I haven't actually seen someone with a finished Iron Man costume made from pepakura except for the one kid who got onto the news for going thought all the step.

There is this really good site which helped a lot, but it looks like they've just moved and everything is still a little bit messy. Click here to go to the 405th website which helps people creating armour like costumes.

The iron man suit allows me to try out my skill in making pepakura files and also try out fibreglassing and polishing things off.

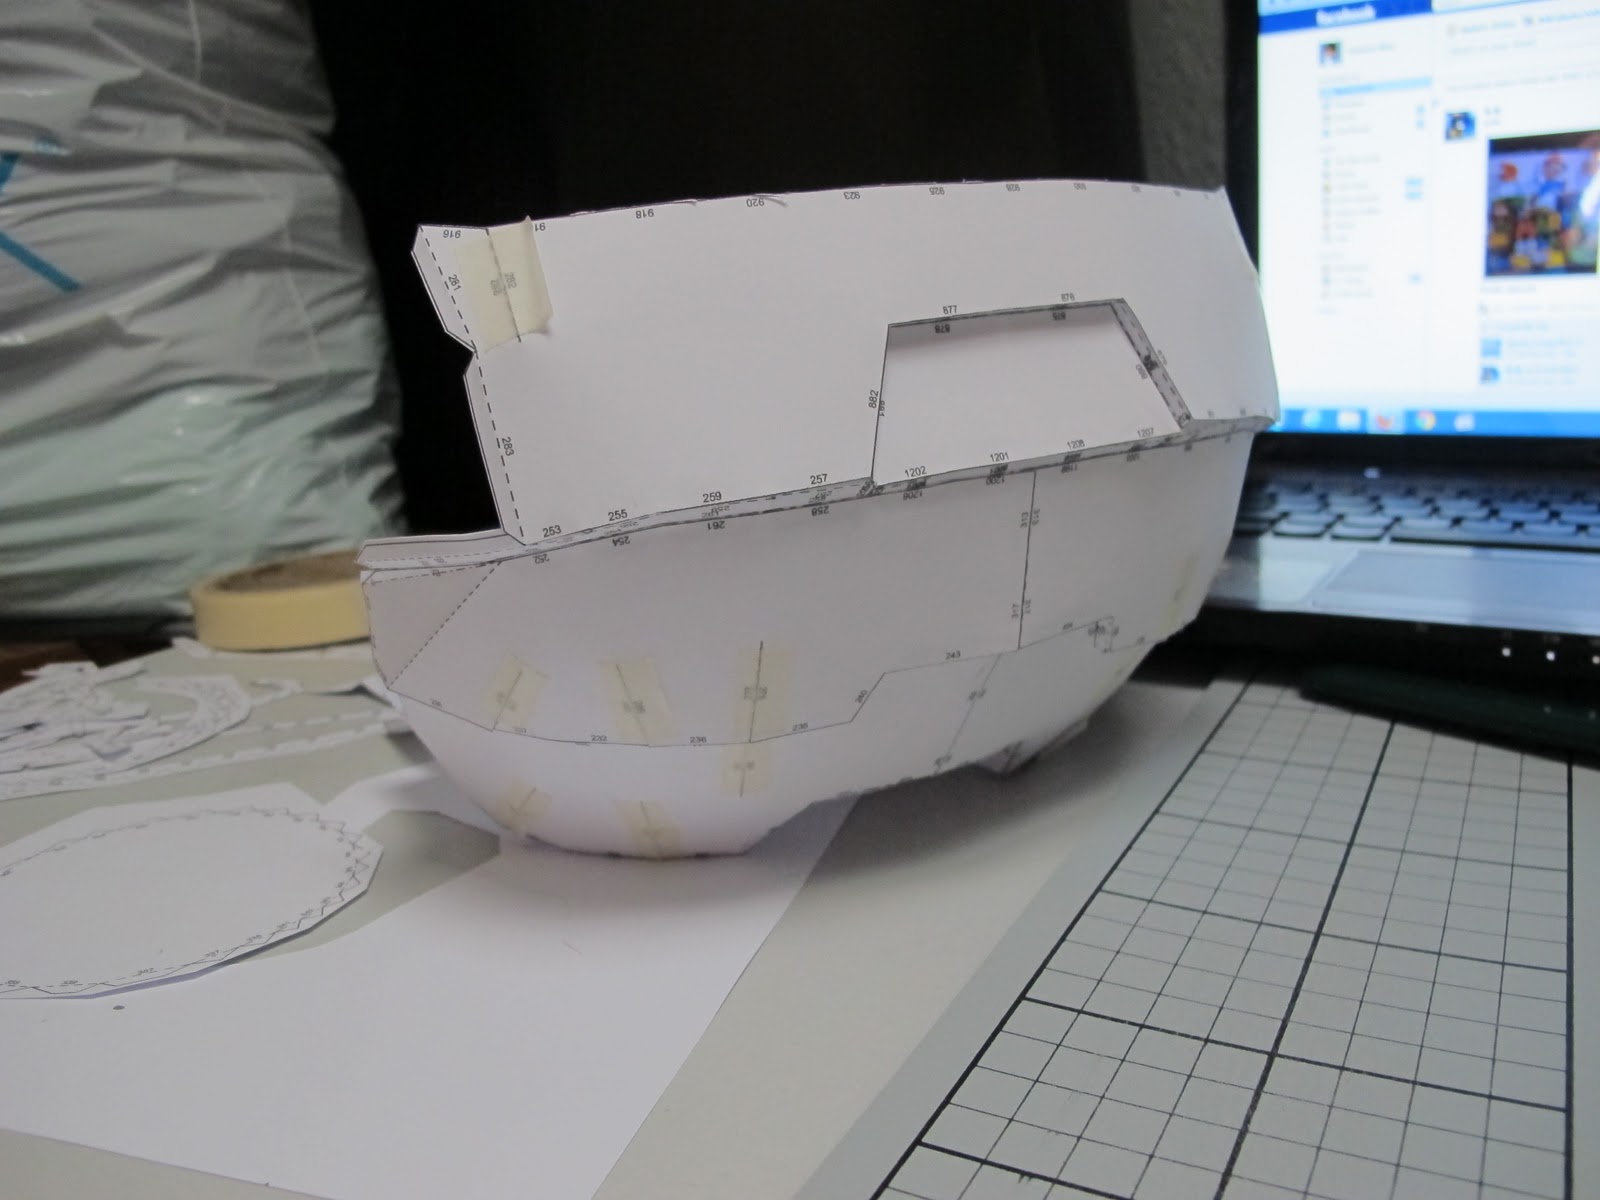
Here is the tester Iron Man helmet. I'm not really sure why this was needed, but it allowed my to try out making a model from pepakura files. I'm assuming it's for the scaling. This helmet feels a little too big for my head.

My aim is to make a full Iron Man suit and wear it to a comic con. However, I'd also like to have working lights for the palms, chest and eyes. The biggest problem I'm seeing is the face plate opening and closing. I'm not even sure where to start with that because I can't see the actual mechanics of other people's helmet. I might need to just keep it closed.